

Hive Mail installs like any other WordPress plugin.
Requirements: WordPress 6.4 or newer, PHP 8.0 or newer, a normal WordPress database (the database user must be able to create tables) and an administrator account. To send real campaigns you also need an SMTP plugin, a Mailgun account or a SendGrid account, but not to install. See How Hive Mail sends email.
Get Hive Mail and Hive Mail Pro #
The Hive Mail plugin is free. Hive Mail Pro is a second plugin that adds more screens and ready-made automations. It runs on top of Hive Mail, so you install both.
Hive Mail
- Download the zip from hiveplugins.com:
https://hiveplugins.com/wp-content/uploads/hivemail-releases/hivemail-site-1.0.4.zip. The Hive Mail page athttps://hiveplugins.com/hivemail/also has the download. - In the WordPress admin, open Plugins, click Add New Plugin, then Upload Plugin.
- Choose the zip file and click Install Now.
- Click Activate Plugin.

Hive Mail Pro
- After you buy it, open My account > Downloads on hiveplugins.com. The purchase receipt shows the same list. There are two downloads: Hive Mail Pro, and Hive Mail, the base plugin that Hive Mail Pro runs on top of.
- Install and activate Hive Mail first, as above.
- Install and activate Hive Mail Pro the same way (Plugins > Add New Plugin > Upload Plugin).
- Go to Settings > License and activate your license key (Activate and manage your license).
If you activate Hive Mail Pro first, a notice on every admin screen says it needs Hive Mail and offers Install and activate Hive Mail.
Updates. Both plugins are updated from the WordPress Plugins screen.
- Hive Mail offers its own updates straight from hiveplugins.com. You need no account or license, nothing about your site is sent, and each download is checked against a checksum before it is installed. On a site that also has Hive Mail Pro, the update is offered by Hive Mail Pro.
- Hive Mail Pro is updated with an active license key.
Versions of Hive Mail before 1.0.4 cannot update themselves. Replace them once by hand: download the newest zip and upload it as above, and WordPress offers to replace the current version. Your contacts and settings stay.
Warning: Replace the plugin by uploading over it. Do not delete it first: if Delete all Hive Mail data when the plugin is deleted is on, deleting erases your data (Uninstalling and Delete all data).
Open Hive Mail for the first time #
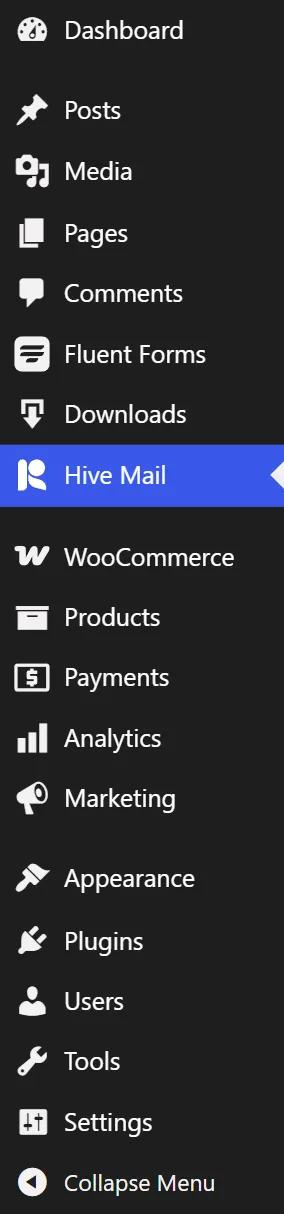
Click Hive Mail in the WordPress admin menu. On a new site the setup wizard opens over the Dashboard. Fill it in, or click Skip setup and use the First steps checklist.
What activation sets up #
Activation sends nothing and shows nothing to visitors. It creates no contacts, lists, campaigns, cookies or tracking.
| What | Details |
|---|---|
| Database tables | Tables named with your WordPress prefix followed by hm_, for example wp_hm_contacts. They are upgraded automatically when an update needs it. |
| Permissions | All Hive Mail permissions go to the Administrator role. See Settings: Roles & Permissions. |
| Three pages | Unsubscribe, Email preferences and Subscription confirmed, each holding one shortcode. See Unsubscribe and email preference pages. |
| Scheduled work | A timer that runs once a minute and a daily clean-up job. See Scheduled sending and cron. |
If you delete one of the three pages, a button in Settings > Compliance can recreate it. Until then, a plain Hive Mail page answers, so links in emails keep working.
Warning: Do not deactivate Hive Mail while campaigns are out. The unsubscribe, confirmation and tracked links in emails you already sent stop working while the plugin is off. Deactivating deletes no data. See Uninstalling and Delete all data.


